Splash photography can be a lot of fun. It is generally believed that one needs expensive gadgets to achieve a good splash, but that’s not true. Why not tag along with us to learn how you can easily accomplish the task?
I have always wanted to try splash photography like done here https://iphotoalternative.com. I thought of different ways of achieving the effect, but for one reason or the other, always put off my experiment until I saw someone doing splash photography on the Internet. This shoot was my first attempt, and though not perfect, I think it is relatively good.
What will you need?
- A manual exposure camera, with a suitable lens
- A powerful spotlight
- Another spotlight, for the background
- A wine glass
- Tripod
- Background of your choice
- A bucket of water
- A mug
- A splash-tray to collect spilled/splashed water
- Coloured ink of your choice (few drops).
The Set-up
Using some ingenuity, set up the wine glass in front of your background, as shown. The spotlight should ideally back-illuminate the glass. Place the splash-tray on the ground (underneath the glass) to collect spilled/splashed water. This, of course, is not mandatory but is included so that you don’t mess up your workspace. Put a few drops of the coloured ink in the water to enhance the final effect.
Trial Shots
Tripod mount the camera and focus manually on the wine glass. Set the camera to its lowest ISO sensitivity and Manual exposure mode. Select a narrow aperture (like f/11 or f/16) that will provide adequate depth of field, and take a general meter reading as a starting point. Set the shutter speed that the meter indicates. Ask an assistant to pour some water into the glass as you take a shot. Check the result. The shutter speed should be fast enough to freeze the water. Trial and error will tell you that you’ll need about 1/1000sec or faster.
Recheck the result. Check whether the shutter speed has been high enough to freeze the action (most probably it will be) and whether the exposure is to your liking. If the image is underexposed, you could increase the ISO sensitivity, or move the spotlight closer to the background. Note that moving the spotlight closer will also change the quality of the lighting! You may have to make a bit of trial and error till you get an exposure that you are satisfied with.
Hint from this site: Raise the ISO if needed rather than moving the light closer.
What Happened During Our Trial
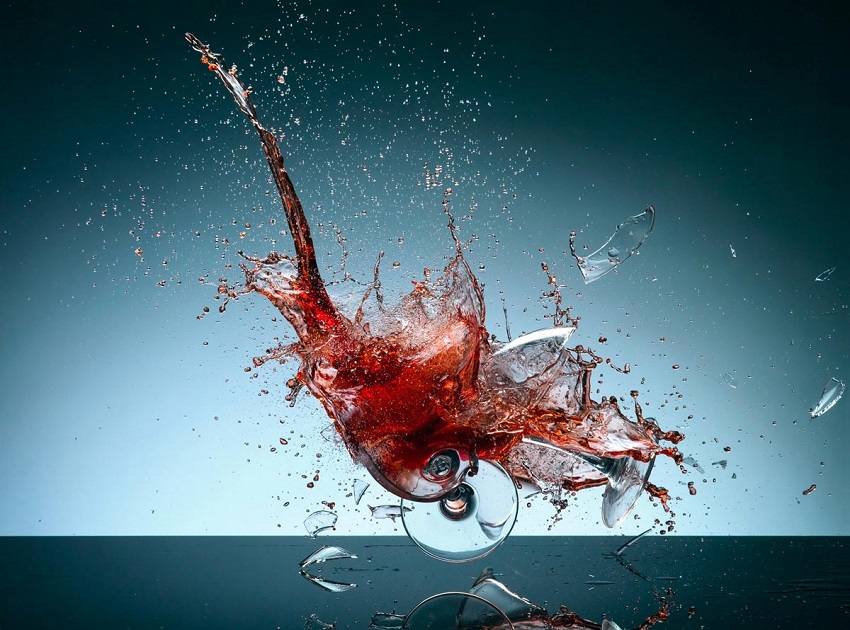
We used a Nikon D200 with a Sigma 50-150mm zoom lens. The spotlight we used was not powerful enough, and we could manage a good exposure (1/1250 sec at f/5.6) only at ISO 1250. At this aperture, sharpness and depth of field could be a problem. Since this was an experiment, we decided to go ahead irrespective.
The most difficult challenge was pouring the water carefully into the small glass! If you pour too slowly, you are not likely to get the desired swishing and churning movement of the water. Pour it too hastily, and the water is likely to spill out of control. We made several attempts. At one point, I was prepared to call it a day. But somehow we continued and finally got the shot we liked.